How to plant bare root trees
Bare root trees cost 40-60% less than container-grown stock and, when planted correctly, often establish faster. A bare root fruit tree runs $25-45 at most California nurseries. The same variety in a 5-gallon container costs $50-80. The catch: bare root trees need careful handling from the moment you pick them up. For a deeper look at bare root planting techniques, we recommend reading up before your first attempt. The single most important thing you can do is soak the roots in water for 3 to 6 hours before planting. A bare root tree loses moisture fast once it leaves the nursery cooler. That clock is ticking.
When is bare root planting season?
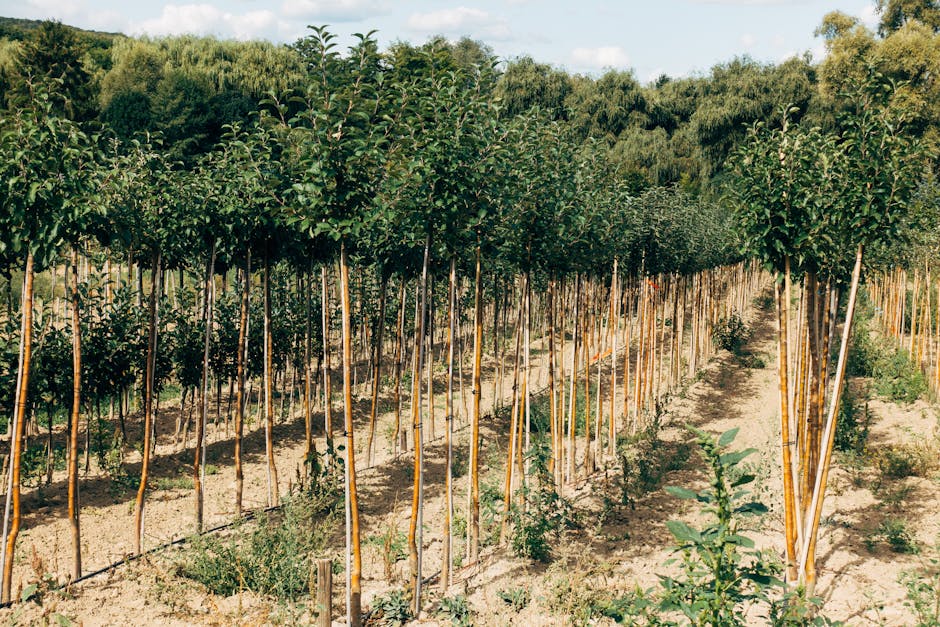
Bare root trees are only available during dormancy, roughly December through early March in zones 8-10 (Northern California), and February through April in zones 4-7. Nurseries like Dave Wilson and Sacramento Tree Foundation start selling bare root stock in January. By March, the best varieties are gone.
Plant on a cool, overcast day if you can. Hot sun and wind dry out exposed roots in minutes. If you get your trees on a Saturday and the weather forecast shows 75 degrees, plant them Sunday morning before it warms up.
What trees come bare root?
Most deciduous fruit trees ship bare root: apple, pear, peach, plum, cherry, apricot, fig, persimmon, and pomegranate. Deciduous shade trees are common too. You’ll find bare root oaks, maples, elms, and birches at wholesale nurseries. Roses also ship bare root, but that’s a different article.
Evergreens almost never come bare root. If you want a live oak (Quercus agrifolia) or a coast redwood (Sequoia sempervirens), you’re buying container stock.
Get the roots wet right away
The Arbor Day Foundation recommends soaking bare root trees for 3 to 6 hours before planting. Not overnight, not for two days. Just 3 to 6 hours. Longer soaking can drown fine root hairs and promote rot.
Use a 5-gallon bucket, a clean trash can, or even a wheelbarrow. Fill it with room-temperature water (not ice cold from the hose in January) and submerge the roots completely. The trunk doesn’t need to be underwater, just everything below the root flare.
If you can’t plant the same day, dip the roots in hydro-gel (a moisture-retaining polymer, about $12 at any garden center) and keep the tree in a cool, shaded spot. Wrap the roots in damp burlap or newspaper. The goal is simple: don’t let those roots dry out. Dried roots are dead roots, and dead roots mean a dead tree.
For trees that will sit more than a few days, dig a shallow trench in a shaded area, lay the trees at an angle, and cover the roots with moist soil. Nurseries call this “heeling in.” It buys you a couple weeks, but don’t push it. Plant them as soon as the ground is workable.
Inspect and trim damaged roots
Before planting, look at the root system. You want to see firm, light-colored roots with a fibrous texture. Trim off anything that’s dark, mushy, or broken with sharp bypass pruners. Make clean cuts. Ragged tears invite disease.
If you see roots that are circling or kinked from being bundled at the nursery, straighten them gently. Roots that circle in the planting hole will continue circling as the tree grows. Five years later, those circling roots strangle the trunk. Arborists call this “girdling roots,” and it kills trees that look perfectly healthy on top.
Trim roots that are longer than about 18 inches. The ISA (International Society of Arboriculture) recommends cutting long roots back so they fit in the planting hole without bending or circling. The tree will grow new feeder roots from the cut ends.
Dig the hole right
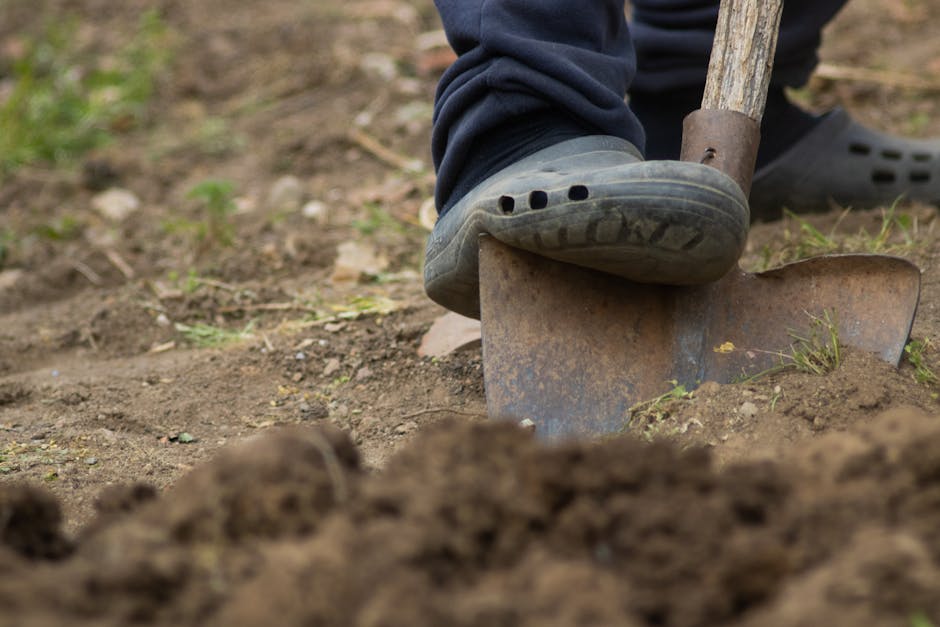
Dig the hole wider than you think it needs to be. The ISA’s planting guidelines say to make the hole 2 to 3 times the width of the root spread but only as deep as the root system. This is the part people get wrong. They dig deep and narrow. You want shallow and wide.
Before you dig, remove grass in a 4-foot circle around the planting spot. This eliminates competition from turf roots during the critical first year. Grass roots are aggressive. They’ll steal water and nutrients from your new tree for the entire first growing season.
Here’s why wide matters: the roots of a newly planted tree grow outward, not down. According to the ISA’s Tree Planting Guidelines, 90% of a tree’s root system occupies the top 12-18 inches of soil. A wide hole with loosened sides gives those lateral roots an easy path into the surrounding native soil.
Loosen the soil on the sides of the hole with a garden fork. If you dig with a shovel and the sides are glazed smooth (especially in clay soil), the roots will hit that smooth wall and circle instead of penetrating. Rough up the sides. Scarify them. Give the roots something to grip.
Getting the depth right
Depth matters more than width. Set the tree so the root flare (where the trunk widens at the base, just above the roots) sits at or slightly above ground level. On grafted fruit trees, the graft union (the swollen bump on the trunk where the fruiting variety was grafted onto the rootstock) should sit 2 to 3 inches above ground level.
If you bury the graft, the top variety can root on its own and bypass the rootstock. That defeats the purpose of grafting. A peach grafted onto Citation rootstock for dwarfing will grow full-size if the graft gets buried. You’ll have a 25-foot peach tree instead of a 12-foot one.
If you bury the root flare on any tree, you’ll trap moisture against the bark. Over time this causes crown rot and bark decay. Arborists see this constantly. Half the “mystery” tree deaths in residential yards trace back to a root flare that got buried at planting or by landscape crews piling soil against the trunk.
Build a small mound of firm soil at the bottom center of the hole. Set the tree on top of this mound and spread the roots out over it like a hand draped over a ball. This keeps the roots radiating outward and prevents them from clumping at the bottom.
What to put back in the hole
This is where most people overthink it. Refill the hole with the same native soil you dug out. That’s it.
Do not add peat moss, potting soil, bark, fertilizer, or any other amendments to the planting hole. Here’s why: if you create a pocket of rich, fluffy soil surrounded by your native clay or sand, the roots will circle inside that pocket instead of growing outward. You’ll end up with a root-bound tree in the ground, the same problem you get with a pot-bound nursery tree.
Research from the University of California Cooperative Extension and multiple ISA studies confirms this. Amended planting holes also create a “bathtub effect” in clay soils, where the fluffy fill holds water that the surrounding clay won’t drain. Your tree sits in a puddle and the roots rot.
Your native soil is what the tree has to live in for the next 50 years. Let it get used to that soil from day one.
Backfill in stages. Add soil, tamp it down gently with your foot, add more soil. You want to eliminate air pockets without compacting the soil into concrete. Air pockets around roots mean those roots dry out and die. Overcompacting means the roots can’t grow through. Find the middle ground.
Do not fertilize at planting. Wait until the tree leafs out and you see at least 6 inches of new growth, usually by late spring. Then apply a balanced fertilizer like 10-10-10 at the drip line. Fertilizer in the planting hole burns new roots. If you’re planting fruit trees, our guide to February fruit tree fertilizing covers the feeding schedule that gets new fruit trees producing sooner.
Water and mulch correctly

After backfilling, create a small water-holding basin around the tree by mounding soil in a ring at the edge of the planting hole. Make the ring 3-4 inches high. Fill this basin with water and let it soak in completely. Fill it again. You want the entire root zone saturated. This first watering also settles the soil around the roots and collapses any remaining air pockets.
If the tree settles and the root flare drops below grade, pull the tree up gently before the water fully drains. Get it right now, because you won’t want to dig it up later.
Mulch the right way
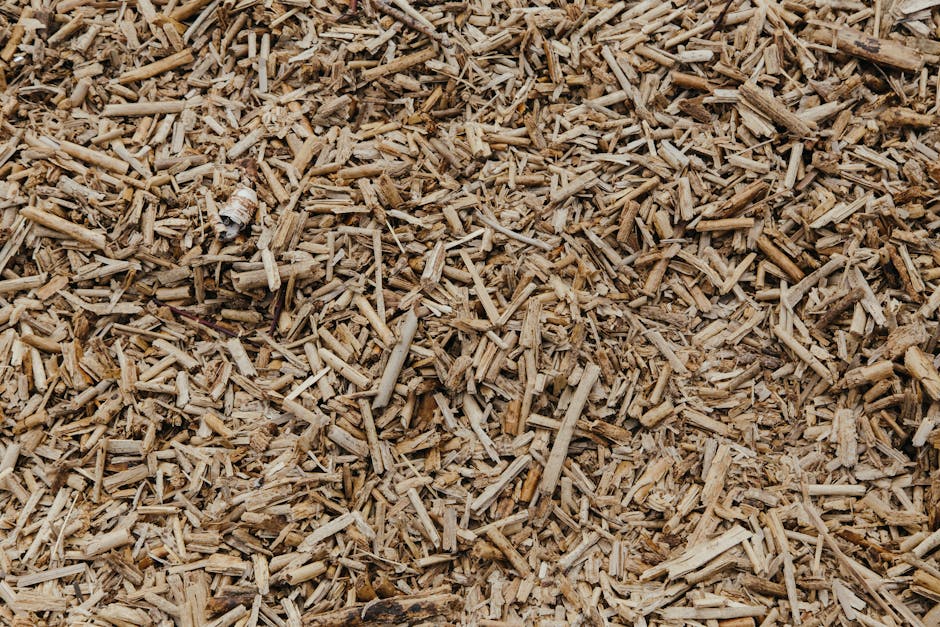
Once the water has soaked in, spread a 2-4 inch layer of mulch over the planting area in a circle at least 3 feet wide. Arborist wood chips work best. They’re often free from local tree services. Shredded bark, straw, or composted leaves work too. Skip rubber mulch and dyed wood chips.
Keep the mulch 3 to 4 inches away from the trunk. This is non-negotiable. Mulch piled against bark holds moisture against the wood and causes rot, fungal infections, and vole damage. Every landscaper knows this, and half of them still do it wrong. You’ll see “mulch volcanoes” piled against tree trunks in every parking lot in America. Don’t copy that.
The mulch ring should look like a donut, not a volcano. Flat or slightly concave. Trunk visible and dry. This one detail will prevent more tree problems than any other maintenance you’ll do.
Should you stake a bare root tree?
Most bare root trees don’t need staking. The ISA recommends staking only if the tree can’t stand upright on its own or if you’re in a windy location. Bare root trees are usually small enough (4-6 feet) that they’re stable without support.
If you do stake, use two stakes on opposite sides, about 18 inches from the trunk. Attach the tree loosely with wide, flexible ties (old t-shirt strips or commercial tree ties, not wire or string). The tree should be able to sway in the wind. Movement builds trunk strength. A tree staked rigidly for two years develops a thin, weak trunk that can’t support itself when you finally remove the stakes.
Remove stakes after one growing season, two at most. Mark your calendar. Forgotten stakes and ties girdle more young trees than any pest or disease.
First-year watering schedule
Water your new tree every 7 days during the first growing season whenever it doesn’t rain. That’s roughly one inch of water per week, applied slowly so it soaks deep instead of running off. A soaker hose, a drip ring, or a 5-gallon bucket with a small hole drilled in the bottom all work well.
In the Sacramento Valley and other hot interior California zones (9a-9b), you may need to water twice a week during June, July, and August when temperatures regularly hit 100+ degrees. Young trees with limited root systems can’t access deep groundwater yet.
Don’t water on a schedule if the soil is already wet. Stick your finger 3 inches into the soil near the tree. If it’s moist, skip the watering. Overwatering kills as many new trees as underwatering, probably more. Roots need air. Waterlogged soil has no air. Roots suffocate and rot.
After the first year, taper your watering to every 10-14 days in summer. After the second year, established trees in most climates can handle themselves unless you hit an extended drought. For ongoing tree maintenance through the seasons, check our spring tree care checklist.
Common bare root planting mistakes
Here are the mistakes I’ve seen most often, including a few I’ve made myself:
- Planting too deep. The root flare gets buried. Crown rot follows. This is the number one killer.
- Letting roots dry out. Even 15 minutes of sun and wind exposure can damage fine root hairs. Keep roots wrapped or in water until the moment you plant.
- Amending the planting hole. Native soil only. Amendments create root-trapping pockets.
- Forgetting to remove nursery tags and wire. That little metal tag will girdle the branch as it grows. Remove it.
- Waiting too long to plant. If your bare root tree breaks dormancy and starts leafing out before you plant it, survival rates drop. Get it in the ground while it’s still dormant.
- Planting in summer. Bare root trees go in during dormancy. December through March in California. If you missed the window, buy container stock instead.
Bare root vs. container trees
Bare root trees establish faster because their roots grow directly into native soil from day one. Container trees often have circling roots from sitting in a pot, and those roots may never fully straighten out. The University of California found that bare root trees planted properly caught up to and surpassed the growth of container trees within 2-3 years.
The downside: bare root trees look dead when you plant them. Just sticks with roots. Your neighbors will wonder what you’re doing. By June, when those sticks have leaves and 18 inches of new growth, they’ll understand.
If you’re trying to decide which trees to put in your yard, bare root season (January through March) gives you the best prices and the widest selection of fruit and shade trees. It’s worth planning your landscaping purchases around December and January when nurseries stock bare root inventory.